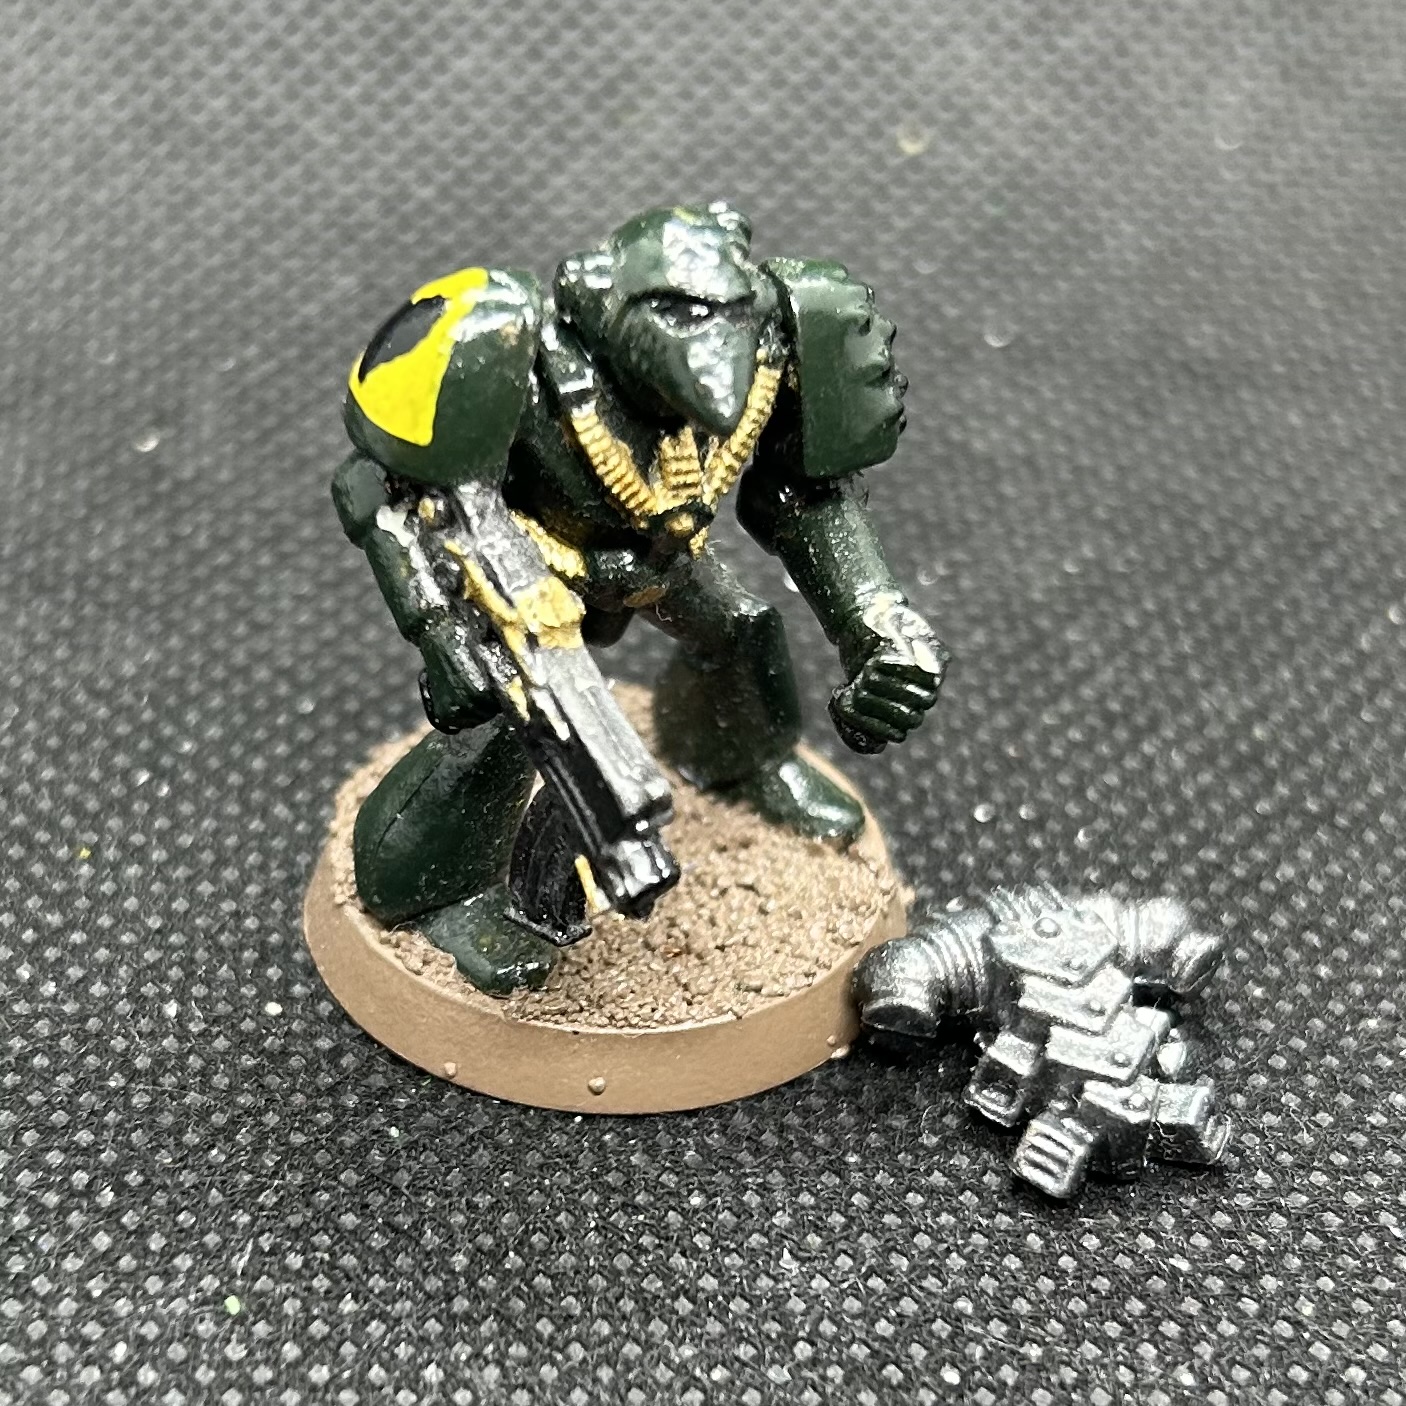
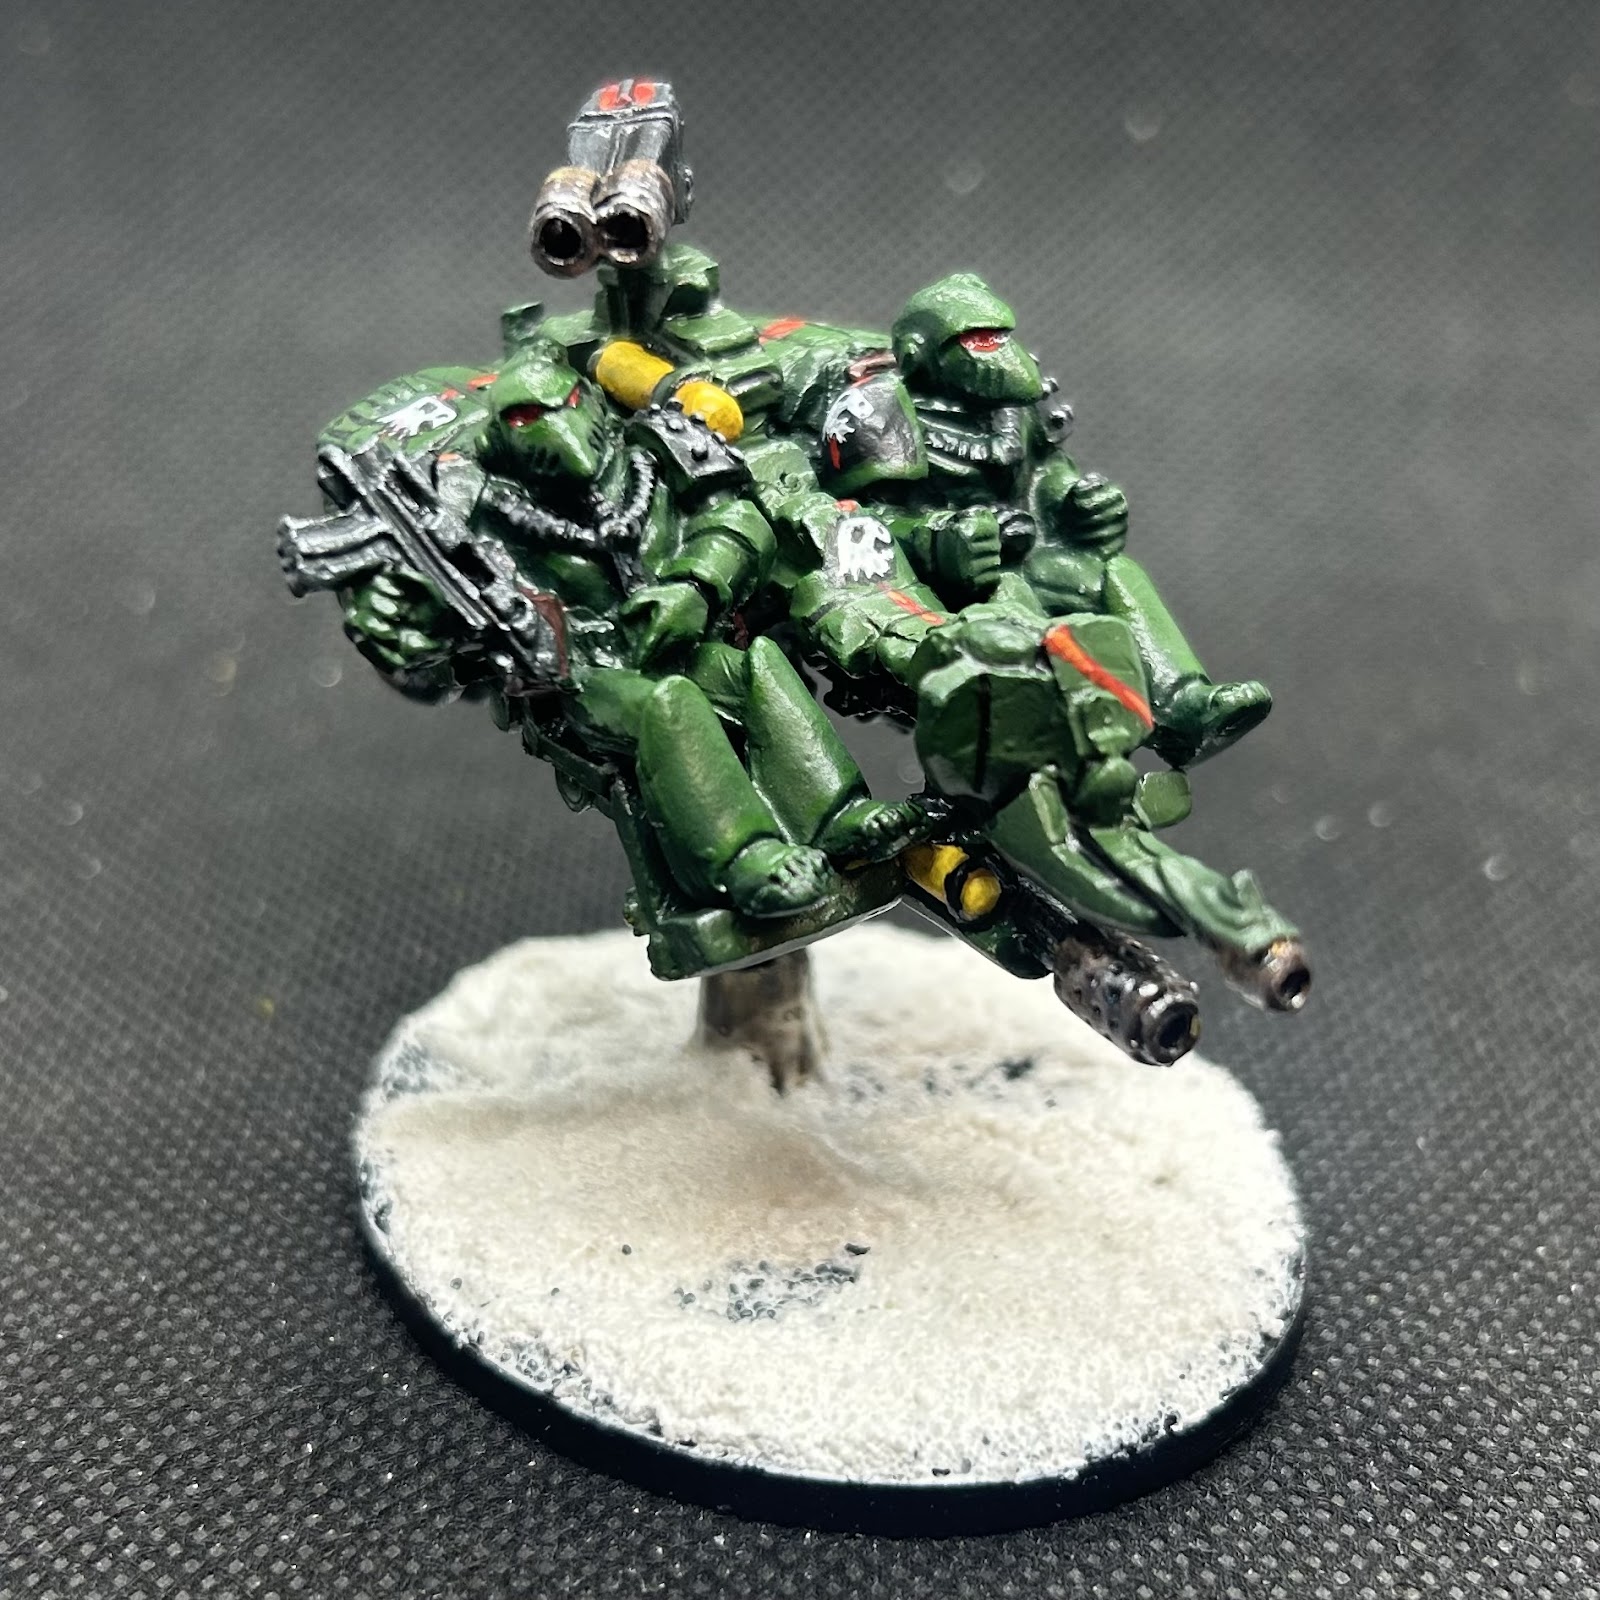
Monday 28 October 2024

Uncovering What’s Under That Paint.

The 2nd Batch

5 models at a time seems a good number to work on, so time for the second batch.

Stripped the paint of 2 x Space Marine Strike Force Mk VII marines and 3 x Mk VII Marines with separate torso & legs. I first painted these as Space Marines pretending to be Harlequins but soon decided it wasn’t that cool, despite being equipped lightening claws too.  Anyway this was back in the early 90's and my first attempt at stripping with acetone. Guess what, I melted some of the arms and didn’t have any spares.  So a mate and I moulded up a couple from what I hadn’t melted and cast them in metal.  An addition of a RTB01 flamer and hand gave me a special weapon. 

Mk VII Marines | Tabs say GW 1990 on the 2 piece ones

Taking these back to bare metal was a good opportunity to sand out the mould lines and clean up stuff I never really noticed first time around.

Painting Recipe

I want to try and keep these as close as possible to the early paint scheme when Salamander Green and Salamander Black were a thing.  Thankfully GW produced the How to Paint Space Marines guide with a step by step guide to Salamanders.  
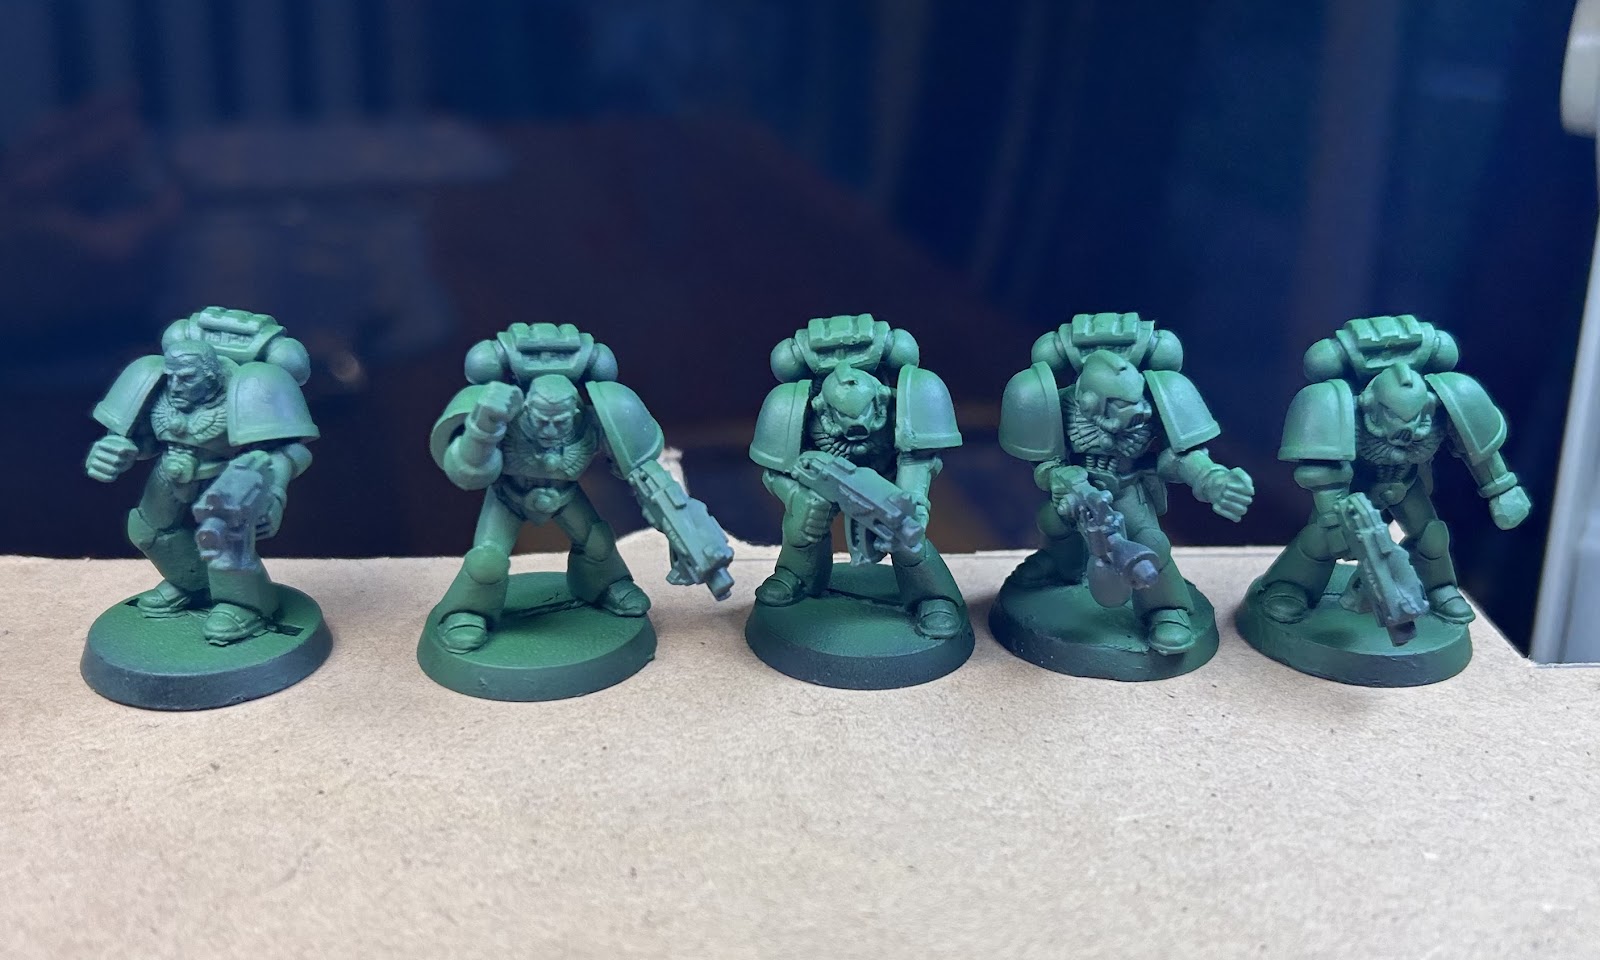

I want these to be as close to the original Salamander Green which was very dark. So the miniatures were undercoated black and were base coated with an air brush in Vallejo’s Dark Green with Angel Green and Flat Green highlighting. 
The shoulder pads, backpacks and weapons are Vallejo Black and Dark Grey.  
Airbrushed Base Coat Green

Brush on Black and Dark Grey

Completed and Ready to Rumble

The squad and chapter markings are hand painted (hence the variations) with whites , red and yellows.  The basic colours are in the picture below. 

Basic Colour Pallet less White.


The Strike Force Marines have two pouches on their waists whilst the two part Space Marines are unadorned.  

With the other five Strike Force Marines these will make another tactical squad.  

Next up is a Mk VI one piece metal Tactical Squad.

Wednesday 23 October 2024

As Bob the Builder Says "Reduce, Reuse, Recycle." So time to revisit the Rogue Trader era

Rogue Trader Revisited

As a university student I was suckered into the realm of Games Workshop.  Initially with Bloodbowl, then with Warhammer 40,000 and finally with Warhammer Fantasy Battle.  Whereas WHFB became my thing for the next 20 years and I built up a large collection of Bloodbowl teams, my dive into the 40K universe barely survived into 2nd edition.  

So my collection of original 'Beakies', the marines from the 'Strike Force' box and assorted metal miniatures from the late 80s and early 90s, were packed away in crappy cardboard boxes.  Over the years they have been bought out to amuse my 40K playing friends and as toys for my kids.  They have been abused, busted, stuck back to together, lost and mostly found.  But not received a lot of love.

The time has now come to bring them back to life and return them to their glory days. 

Operation Salamander

Back in the day, Rogue Trader encouraged you to create your own Chapter which I did.  It was also very early in my painting days and I was learning a lot.  So bring on the Black Hearts in their multiple uniform iterations. 

I pulled together a selection of the various miniatures from the different units I had collected and took them along to the 40K Meet and Greet day we had at Nunawading Wargames Association a few weeks ago.  This was just the inspiration I needed to decide to strip and repaint them, hopefully bringing 30+ years of hobby experience to the table and bringing them back to life.  Of all the chapter's the Salamanders have always peaked my interest.  The original Tamiya dark green paint and Citadel Colour Salamander Green might have been the spark that ignited the ember, but I think it was the idea of lots of multi-meltas. My aim is to recreate the early Salamanders from the late Rogue Trader and early 2nd Edition period.

So the purpose of this series of blog posts is to track my progress and give me an incentive to keep at it.

Strip and Re-Paint aka Proof of Madness

The big question running through my mind was how to strip all these old plastic miniatures and plastic parts.  Stripping and repainting was something I had done a few times before in the 90s and I learnt the perils of acetone and plastic.  My research suggested pure Iso Propyl Alcohol was the way to go and I decided to use it with my ultrasonic cleaner.  Bingo! It works a treat.  No less smelly than acetone and you want to use disposable gloves, but 30min and a little toothbrush work returned the minis to almost new.  

The superglue is brittle enough to flake off and the plastic on plastic parts are either still strong or come free.  I then used a pin vice to drill out the glue or sandpaper to buff it off as required.

Original RTB01 Space Marine (Painted Circa 1989/90)
After IPA stripping.  NB loose backpack was obvious from another miniature!
RBT01 Repainted 01 | Salamanders 2nd Company Tactical Squad Section A
RBT01 Repainted 02 | Salamanders 2nd Company Tactical Squad Section B
Space Marine Strike Force | Painted Circa 1990
Space Marine Strike Force Repainted 01
Salamanders 2nd Company Tactical Squad
Salamanders Space Marine Landspeeder with Multi-Meltas 
NB.  Engines were replaced upside down by my Techmarines to improve performance